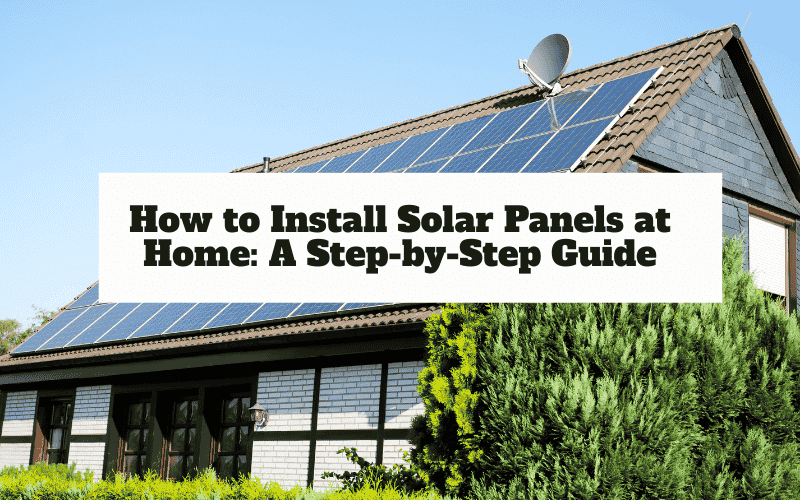
Switching to solar energy is a smart way to reduce electricity bills and lower your carbon footprint. If you’re considering installing solar panels at home, this step-by-step guide will walk you through the process—from planning to powering up.
Before diving into installation, here are some key benefits of solar panels:
✅ Lower electricity bills—Generate your own power and reduce reliance on the grid.
✅ Eco-friendly—Solar energy is clean and renewable.
✅ Increased home value—Homes with solar panels often sell faster and at higher prices.
✅ Government incentives—Many regions offer tax credits and rebates for solar installations.
Before installation, determine if your home is suitable for solar panels:
Roof condition—Ensure your roof is structurally sound and has enough space.
Sunlight exposure—South-facing roofs (in the Northern Hemisphere) get the most sunlight.
Shading – Avoid areas with heavy shade from trees or buildings.
Tools to use: Google’s Project Sunroof or a solar site assessment by a professional.
Check your electricity bills to determine how many kilowatt-hours (kWh) you use monthly. This helps size your solar system correctly.
Example: If you use 900 kWh/month, you may need a 6-8 kW solar system (depending on sunlight in your area).
Solar panels—monocrystalline (efficient but expensive) or polycrystalline (budget-friendly).
Inverter – Converts solar DC power to AC (string inverters vs. microinverters).
Mounting system – Roof mounts, ground mounts, or solar tracking systems.
Battery storage (optional) – Stores excess energy for nighttime use.
Most areas require permits for solar installation. Check with your local government and utility company for:
Building permits
Electrical permits
Net metering agreements (to sell excess power back to the grid)
Mark the roof where panels will be placed.
Attach mounting rails securely to roof rafters.
Seal penetrations to prevent leaks.
Secure panels onto the mounts using clamps.
Connect panels in series or parallel (follow wiring diagrams).
Ground the system for safety.
String inverter: Mount near the main electrical panel.
Microinverters: Attach to each panel.
Connect to your home’s electrical system (hire a licensed electrician if needed).
A local inspector will check the system for safety and compliance.
Your utility company will approve the connection to the grid.
Once approved, flip the switch! Use a monitoring app to track energy production.
Clean panels every 6-12 months to remove dust and debris.
Check for shading from new tree growth.
Inspect wiring and connections annually.
Installing solar panels at home is a great investment for long-term savings and sustainability. While DIY installation is possible, hiring a professional ensures safety and efficiency.
Ready to go solar? Start by assessing your roof and energy needs today!
Empowering a sustainable future with cutting-edge solar solutions, First Power Solar Inc. is committed to delivering reliable and efficient renewable energy for businesses
Get updates on special events, news & trends